How to Wash a Ceramic-Coated Car Without Damaging the Coating
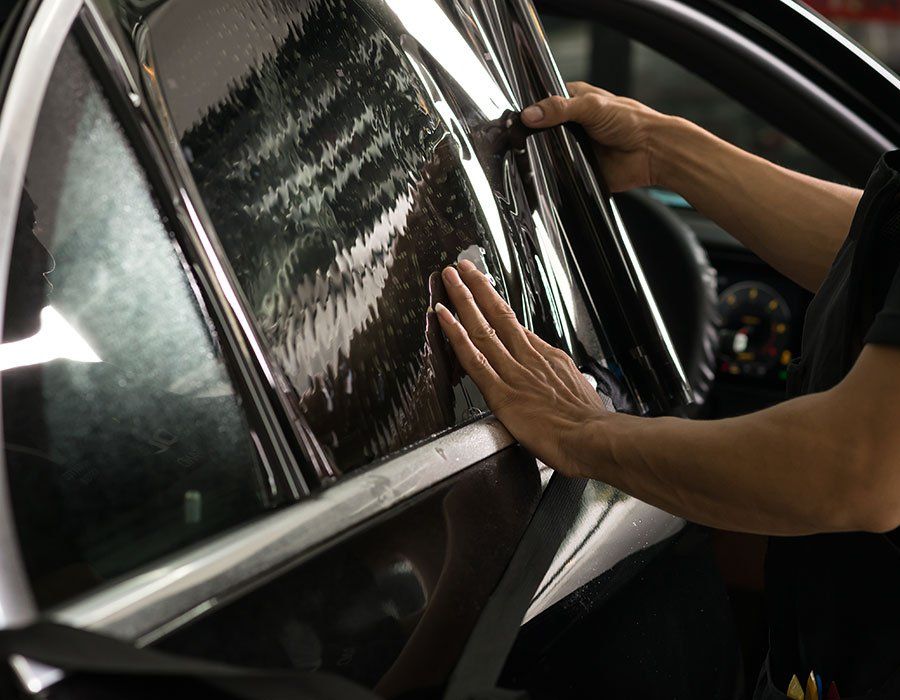
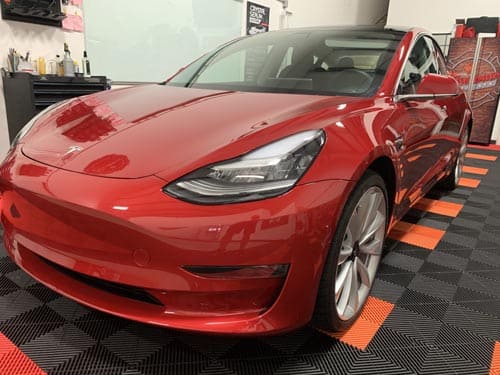
Getting a professional ceramic coating installed on your vehicle is one of the smartest investments you can make in long-term paint protection. But what happens the moment you pull that Porsche, Tesla, or BMW into your driveway and face your first wash? That question matters more than most coating owners realize. Washing a ceramic-coated car incorrectly is one of the fastest ways to degrade the very protection you paid for.
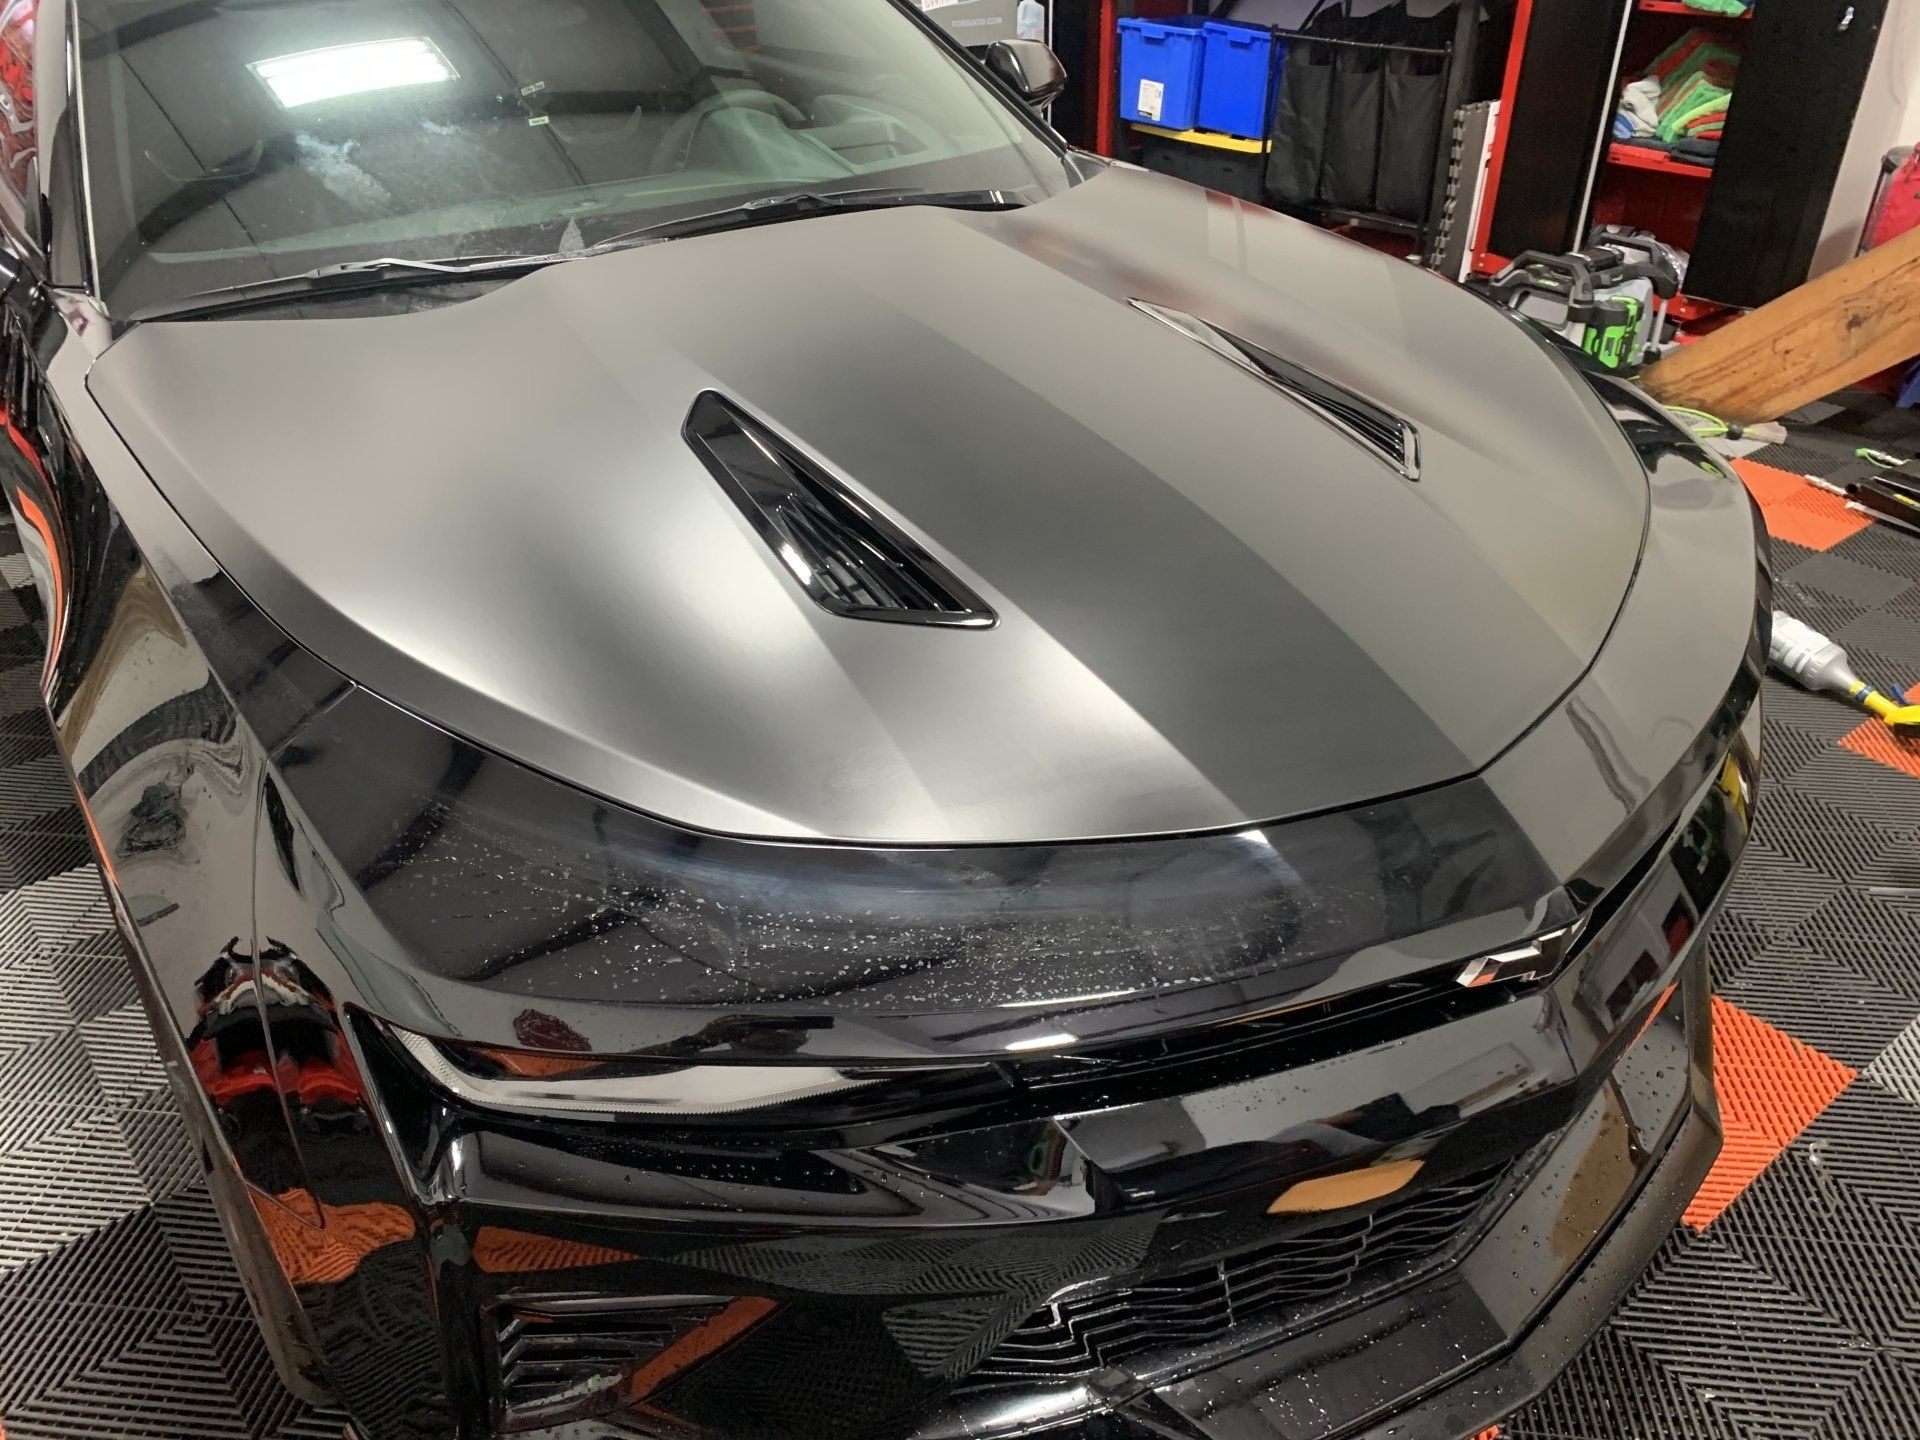
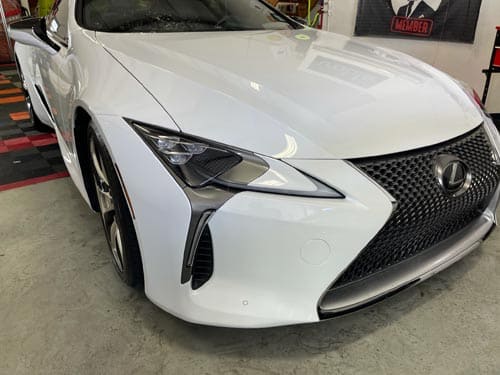
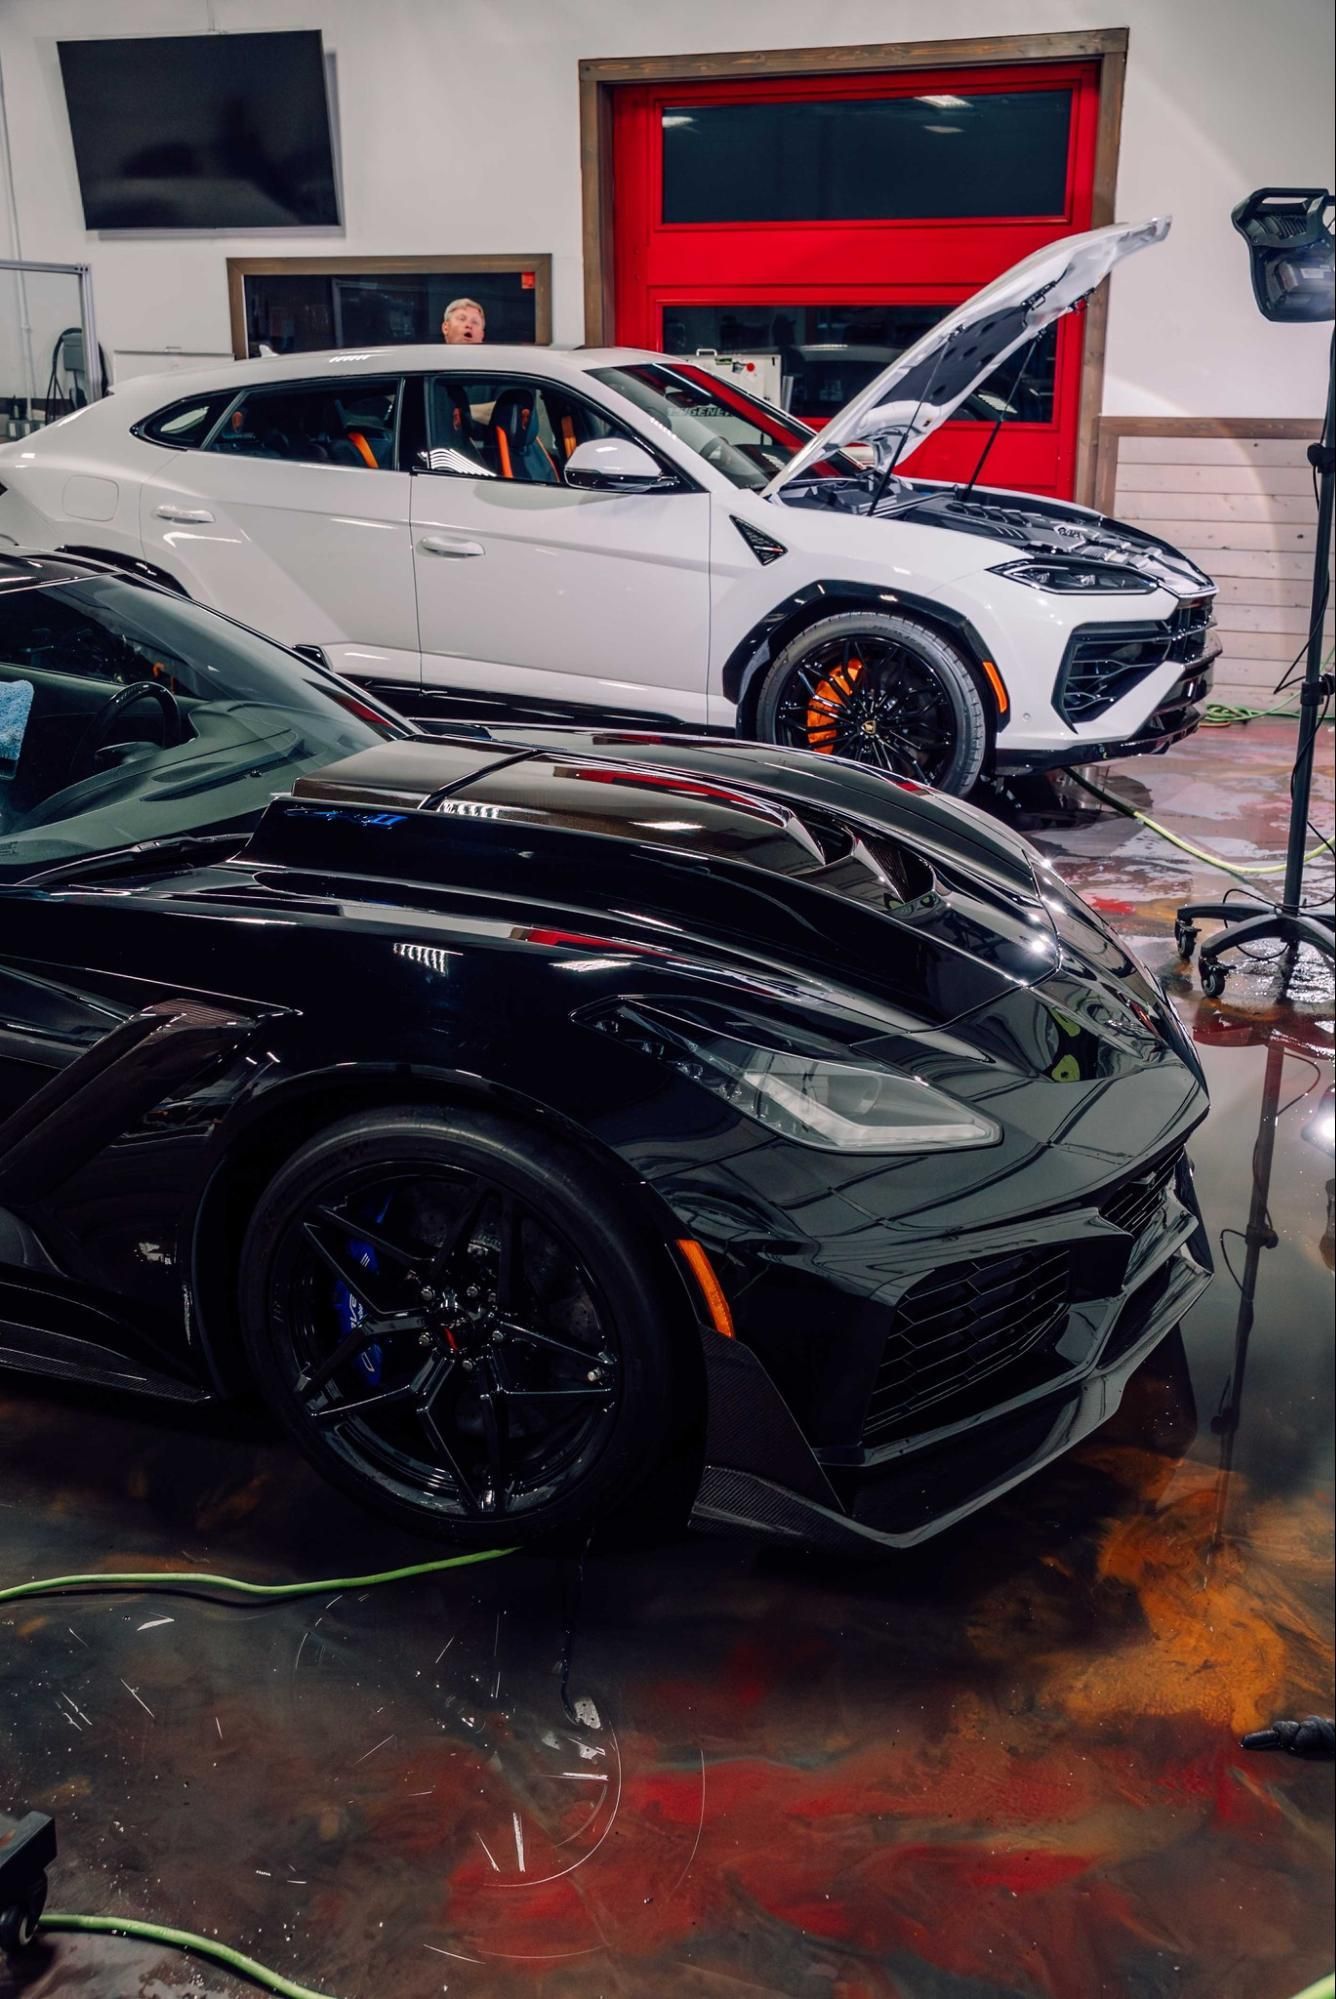
At Firehouse Auto Spa in Jacksonville, FL, our IDA-certified team has worked with all makes and models, from family SUVs to exotic vehicles, applying ceramic coating packages built to deliver hydrophobic paint protection and a glossy finish that lasts. The ceramic coating does a tremendous amount of work on your behalf, but proper post-application care is what keeps it performing at the level you expect.
This guide walks you through the correct washing process, the products that support your coating, and the habits that will shorten its lifespan if left unchecked.
Why Washing Technique Matters More Than You Think
A ceramic coating forms a lasting bond with your vehicle's clear coat by filling microscopic pockets in the surface with nanoparticles. That bond is durable, but it is not immune to mechanical damage. Abrasive washing tools, harsh chemicals, and high-pressure automated car washes introduce friction and chemical exposure that gradually break down the coating's surface integrity.
Jacksonville's climate adds another layer of consideration. With near-constant sun exposure, coastal humidity, salt-laden air, and summer rain that carries environmental contaminants, your coated vehicle faces more demanding conditions than vehicles in cooler, drier regions. For Jacksonville's drivers spending weekends on the water, at the golf course, or cruising Atlantic Beach, that environmental exposure is a daily reality. The good news is that ceramic coatings are specifically designed to excel in these environments, but only when paired with the right maintenance routine.
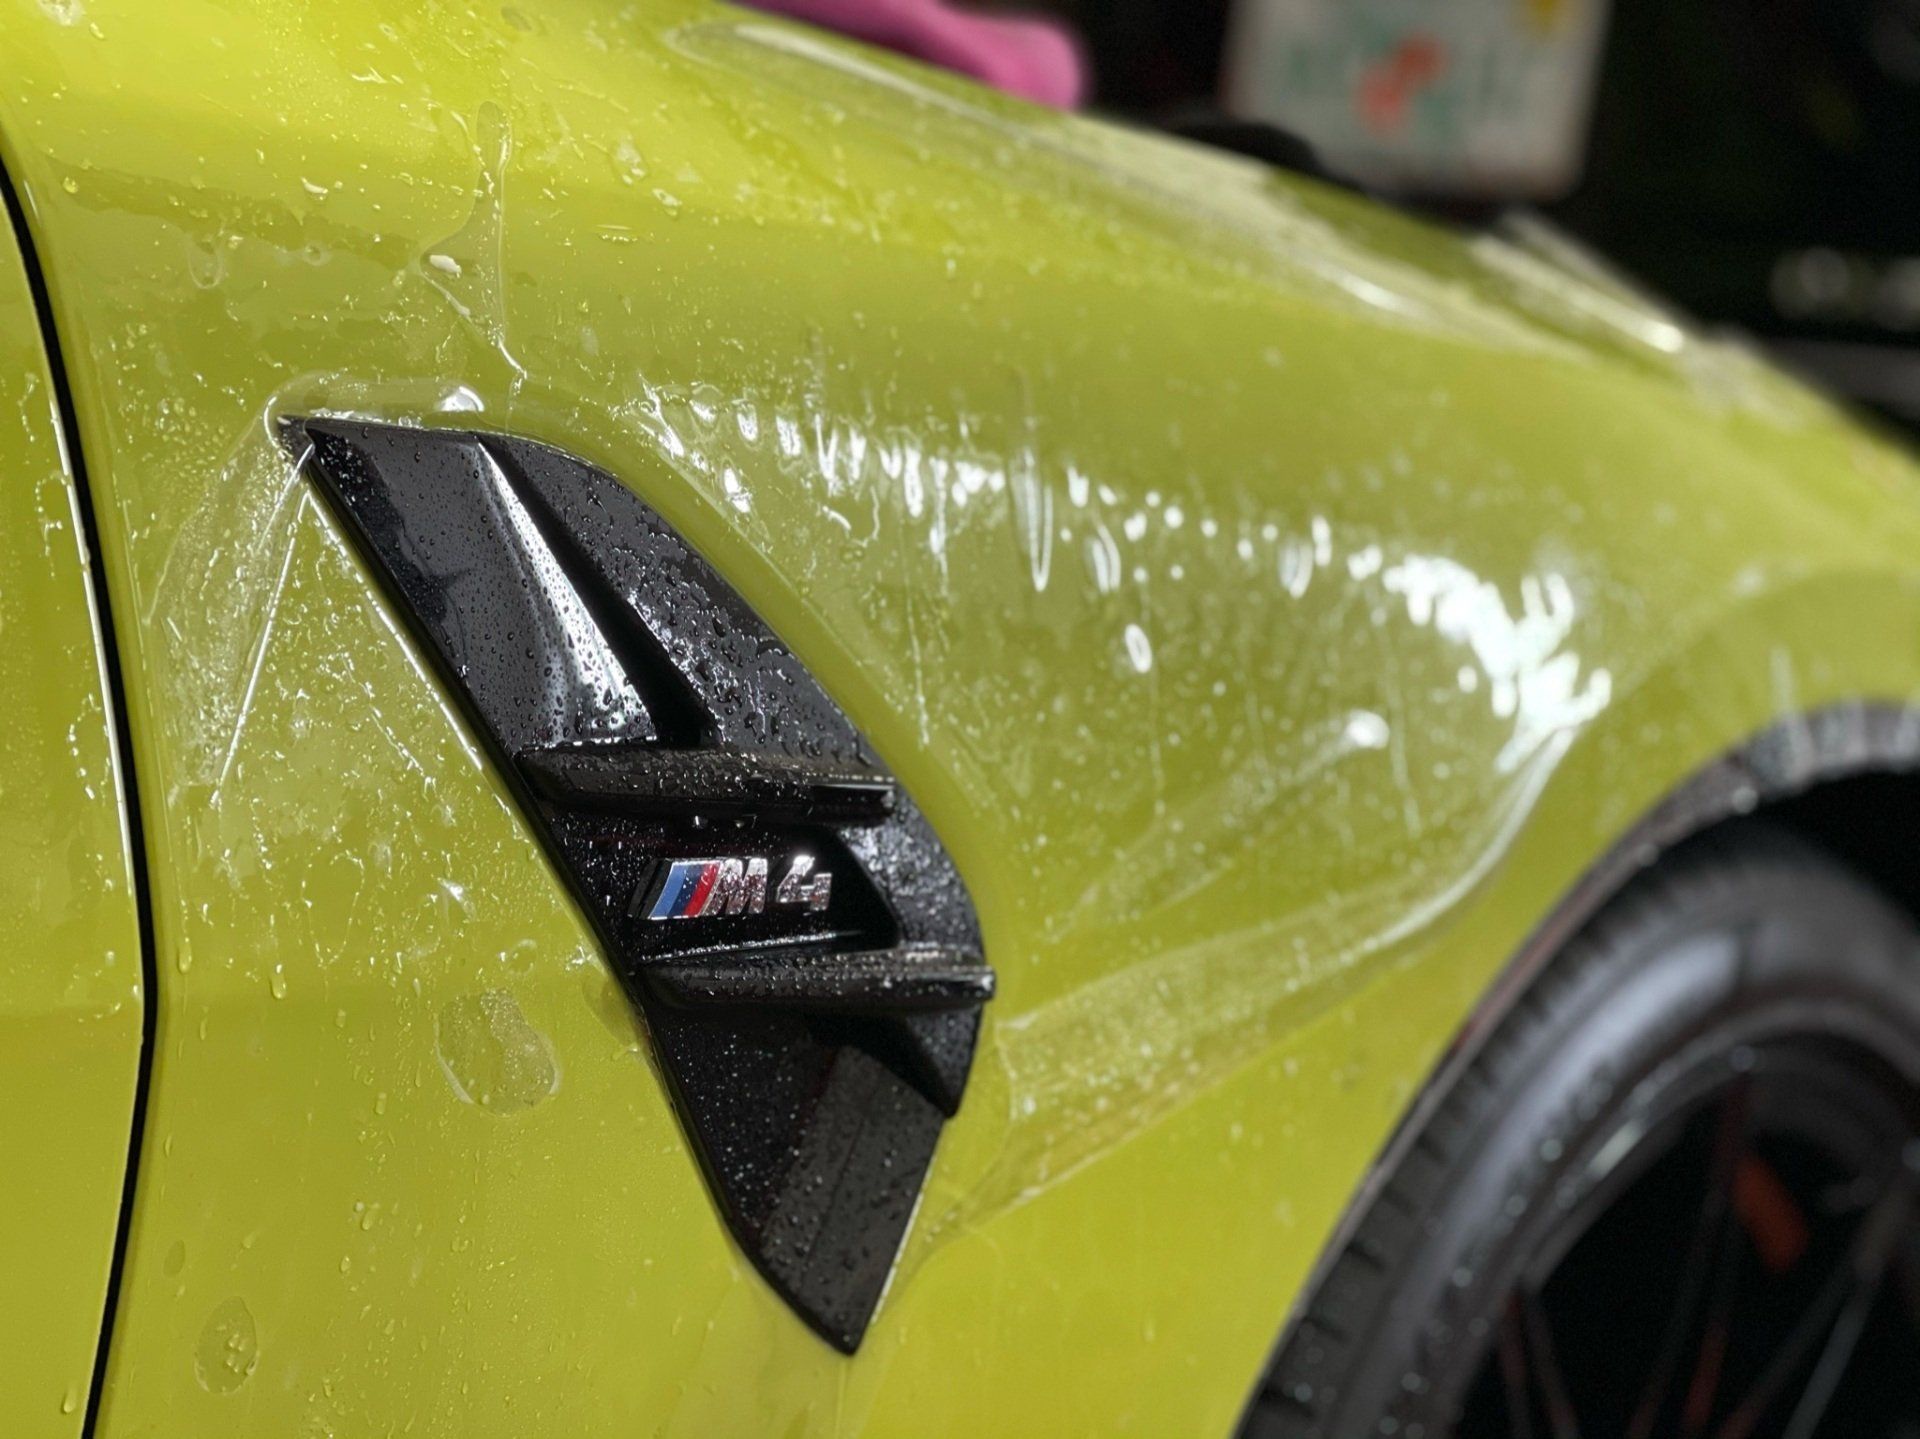
A ceramic coating's hydrophobic properties repel water, contaminants, dirt, and even man-made pollutants like oil and grease. When you wash using proper technique, you are not fighting the coating. You are working with it.


Step 1: Choose the Right Time and Place
Before you pick up a wash mitt, pay attention to two things: temperature and direct sunlight.
Washing a ceramic-coated car in direct sunlight, especially during Jacksonville's peak summer heat, causes water and soap to dry on the surface before you can rinse them off. Those premature dry spots leave behind water spots and residue that can bond to the coating over time. Wash in a shaded area or during the cooler parts of the day, such as early morning or late afternoon.
Avoid washing immediately after driving. A hot hood and roof cause products to activate and evaporate faster than intended, which reduces effectiveness and increases the risk of streaking.
Step 2: Rinse the Entire Vehicle Before Touching It
The first rule of safe ceramic coating maintenance is never dragging dry dirt across the surface. Before any physical contact with the paint, perform a thorough pre-rinse using a gentle hose or pressure washer on a low, wide-fan setting.
Start from the roof and work downward. This pre-rinse loosens and removes the bulk of loose dirt, dust, pollen, and road debris. The hydrophobic properties of the coating assist here, causing water to sheet off rather than cling, which means much of the surface contamination lifts away before you even begin washing.
Skipping this step and going straight to a wash mitt is one of the most common causes of light scratches and swirl marks on coated vehicles, the exact kind of surface damage that signals a compromised finish to any discerning eye.
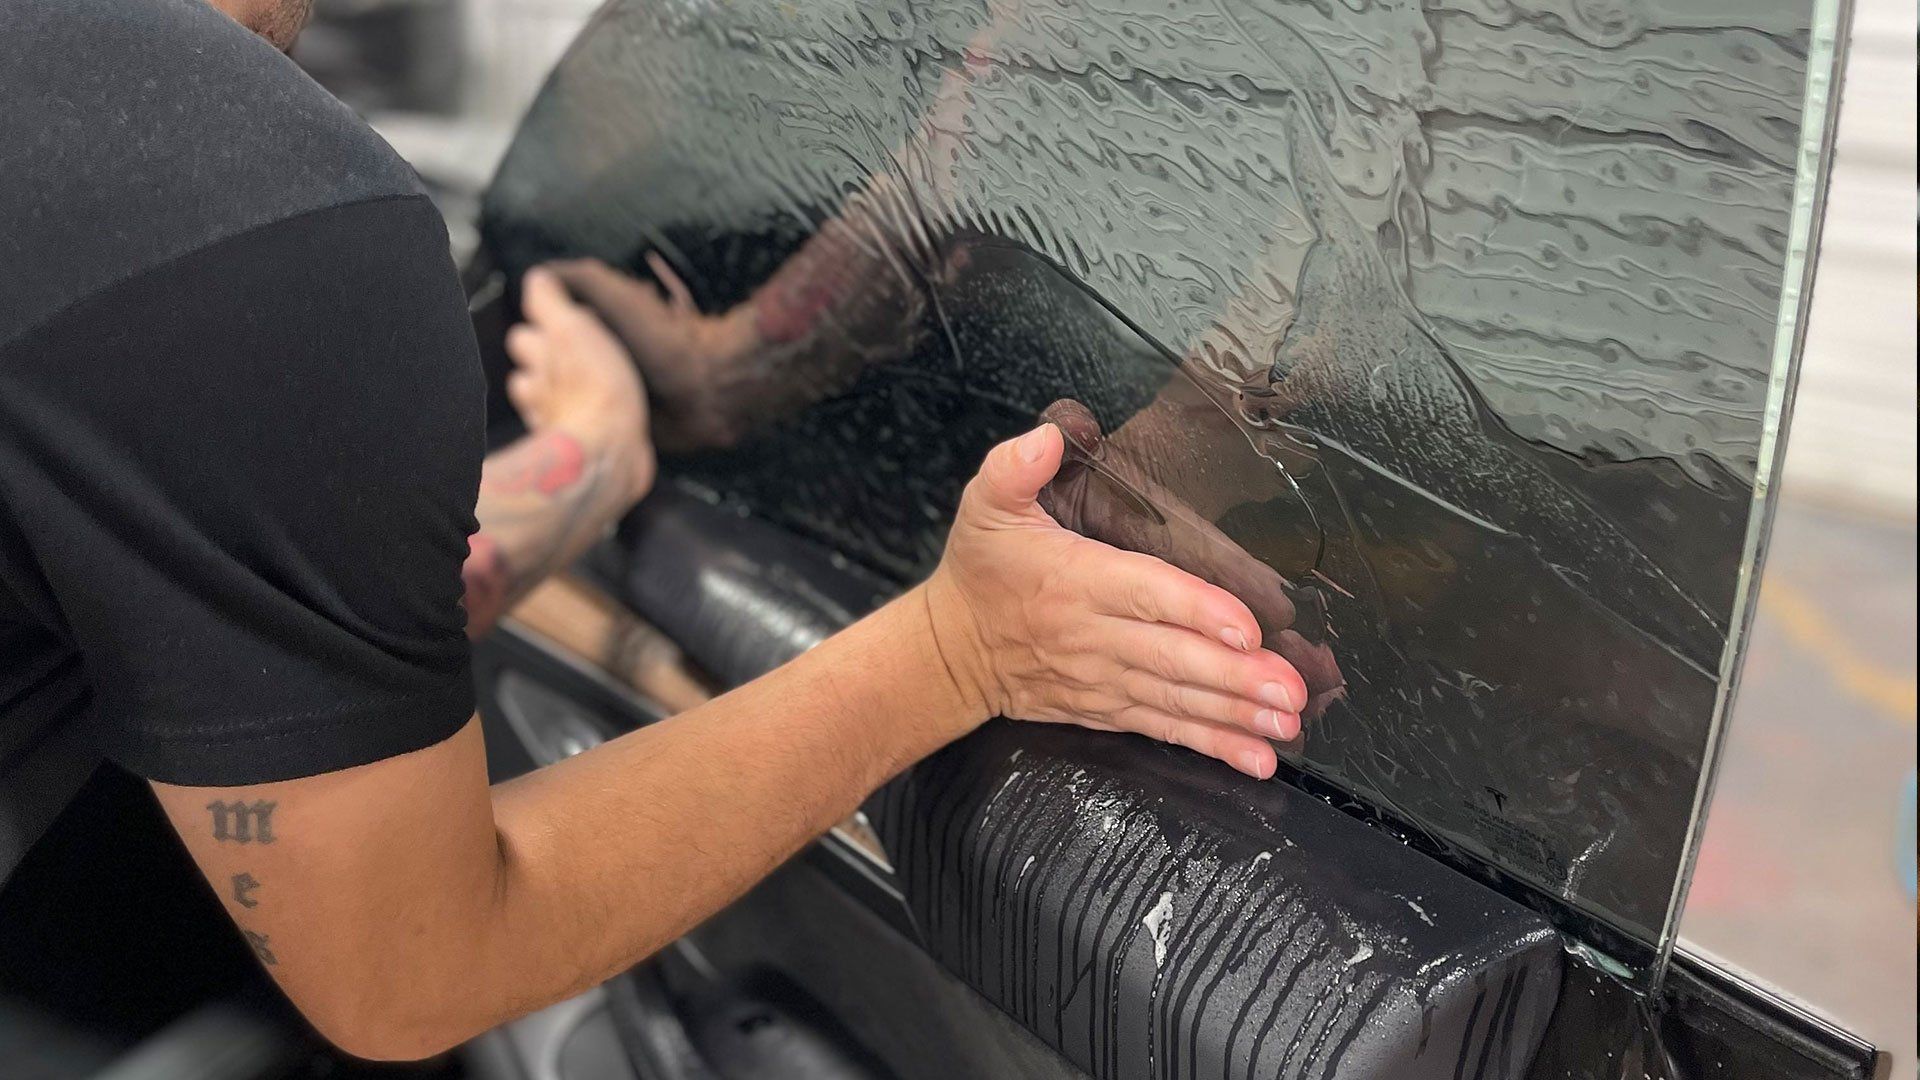
Step 3: Use the Two-Bucket Method
The two-bucket method is the industry-standard washing technique for any vehicle with a quality paint protection investment, and it is especially critical for ceramic-coated cars.
Here is how it works:
- Fill the first bucket with your car wash soap solution
- Fill the second bucket with plain, clean rinse water
- After washing each panel with your soap-loaded mitt, dunk the mitt into the rinse bucket first and agitate it to release trapped dirt and grit
- Then reload the mitt with fresh soapy solution from the wash bucket before moving to the next panel
- Use a grit guard insert at the bottom of each bucket to trap dislodged particles away from your mitt
This process prevents you from transferring the dirt and grit you just removed back onto the paint surface. Without this two-bucket discipline, every pass of the mitt deposits abrasive particles back onto your coating, causing the micro-marring and swirl damage that erases the mirror-finish quality you invested in. For vehicle owners who take pride in how their car looks pulling into a valet or parking lot, this step is non-negotiable.
Step 4: Select a pH-Neutral, Coating-Safe Car Wash Soap
The soap you use matters significantly. Ceramic coatings are resistant to wash chemicals, but that resistance has limits when the wrong products are applied repeatedly.
Avoid dish soaps, all-purpose cleaners, or any product with a high alkaline or acidic pH level. These formulations are designed to strip and degrease, and over repeated use they will degrade the coating's hydrophobic layer.
Choose a pH-neutral shampoo specifically formulated for coated vehicles. These products are gentle enough to clean effectively without compromising the ceramic barrier. Many are designed with lubricating properties that allow the wash mitt to glide across the surface rather than drag against it.
Firehouse Auto Spa carries an extensive selection of tested and approved detailing products at our Arlington Expressway location and through our online store, Firehouse Detail Supply. Every product available has been vetted by our team for vehicle enhancement and protection, so you can trust that what you are purchasing is appropriate for your coating.
Step 5: Use the Right Wash Mitt and Work Panel by Panel
A quality wash mitt makes a significant difference. Use a microfiber or genuine lambswool wash mitt, both of which are soft enough to glide across a coated surface without introducing scratches.
Wash one panel at a time, starting from the roof and working your way down to the lower panels and rocker areas, which carry the most road grime. Use straight, overlapping passes rather than circular motions. Circular scrubbing concentrates pressure in one area and increases the chance of marring.
Reload your mitt frequently from the soap bucket and rinse it in the water bucket between panels. Do not let soap sit on any panel long enough to begin drying before you rinse it. Staying methodical here protects the finish quality that made the coating worth your investment in the first place.
Step 6: Rinse Thoroughly, Then Dry Immediately
After washing each section, rinse immediately and completely. Allow no soap residue to dry on the coating. Once the full vehicle has been rinsed, perform a final top-to-bottom rinse to remove any remaining product.
Drying is just as important as washing. Standing water, particularly in Jacksonville, FL, where water mineral content can vary, can leave behind water spots that etch into the coating surface over time. Dry your vehicle immediately after the final rinse using a clean, high-quality microfiber drying towel or a microfiber waffle-weave drying cloth.
Do not use old bath towels, chamois leather, or any rough fabric for drying. These materials are too abrasive and will introduce fine scratches to your coating. Pat or drag gently rather than applying heavy downward pressure.
A forced-air blower is another excellent option for drying, as it eliminates physical contact with the surface entirely and clears water from panel gaps, door jambs, and mirror housings where pooled moisture tends to linger.
What to Avoid: Habits That Shorten Your Coating's Life
Two categories of mistakes account for the vast majority of premature ceramic coating degradation among vehicle owners who otherwise care deeply about their investment.
The first category involves product and tool choices that introduce physical damage:
- Automatic car washes with rotating brushes or abrasive cloth strips
- Coarse sponges or household cleaning cloths used as wash mitts
- Dirty or contaminated microfiber towels that have not been properly laundered
- High-pressure nozzles aimed directly at panel edges, trim gaps, or seals at close range
- Polishing compounds or abrasive products applied without professional oversight
The second category involves chemical exposure that degrades the coating's protective layer over time:
- Dish soap or household detergents used as a substitute for proper car wash shampoo
- Spray waxes or sealants not designed for use on top of ceramic coatings
- Degreasers or tar removers that are not pH-appropriate for coated surfaces
- Leaving bird droppings, tree sap, or insect residue on the surface for extended periods without prompt removal
Firehouse Auto Spa's ceramic coating FAQ notes specifically that public car washes are the ultimate culprit of coating damage, as automated systems use abrasive washing techniques that scratch the coating surface. Avoiding the automatic wash entirely and committing to the two-bucket hand wash method is the single most impactful habit change a coating owner can make.
How Often Should You Wash a Ceramic-Coated Car in Florida?
There is no universal answer, but Jacksonville's environment provides clear guidance. Salt air from coastal proximity, summer pollen, and frequent afternoon rain that deposits contaminants on paint surfaces mean that a consistent bi-weekly wash schedule is a practical baseline for most vehicle owners in the area.
The hydrophobic properties of the coating mean each wash takes considerably less effort than washing an uncoated vehicle. Contaminants sit on top of the coating rather than bonding with the paint, so less agitation is required to remove them. For busy professionals and executives who value their time as much as their vehicles, that reduction in maintenance effort is one of the coating's most practical advantages. In practice, coating owners often find that keeping a clean vehicle becomes far less demanding than it was before installation.
Schedule a Ceramic Coating Inspection or New Installation at Firehouse Auto Spa
If you already have a ceramic coating on your vehicle and are unsure whether it is still performing as it should, or if you are considering a new ceramic coating installation in Jacksonville, FL, the team at Firehouse Auto Spa is ready to help.
Our ceramic coating packages start at $799.99 for the 2-year package and go up to the 9-year package starting at $1,799.99, each designed to deliver hydrophobic protection, gloss enhancement, UV resistance, and long-term value for your vehicle. Our exterior packages include a full decontamination process and professional application by our IDA-certified team.
Firehouse Auto Spa was founded in 2013 by Mark Elliott Jr. and operates two Jacksonville, FL, locations. Our team holds multiple certifications, maintains active membership with the International Detailing Association, and has had the privilege of serving as part of the Official Air Force One Detailing Team. When your vehicle deserves expert-level care from a team that treats every installation as a matter of professional pride, you know exactly where to find us.
Contact Firehouse Auto Spa
Contact us or fill out the free quick quote form to get a price estimate and connect with a ceramic coating expert today.